As summer approaches and travel plans come into full swing, one way to express your love for the beach is through stunning beach-themed nail art. From sandy shores to vibrant sunsets, there’s no shortage of inspiration when it comes to creating beautiful nail designs that evoke the spirit of the ocean. Whether you’re heading to a tropical paradise or just want to bring a bit of the beach to your everyday life, this guide will take you through everything you need to know about beach-themed nail art, including tips, techniques, and travel recommendations. Grab your nail polish and let’s dive in!
Why Choose Beach Themed Nail Art?
Beach-themed nail art is not just about aesthetics; it symbolizes a passion for travel, adventure, and relaxation. Here are a few reasons to consider this fabulous nail trend:
- Personal Expression: Nail art is a fantastic way to express your love for the beach and your unique personality.
- Perfect for Travel: Easy to do on-the-go, beach nail designs can be a fun activity before your next trip.
- Conversation Starter: Unique nail art can spark conversations with fellow travelers and beach lovers.
Essentials for Beach Themed Nail Art

Nail Polish Colors
The first step in creating beautiful beach-themed nail art is selecting the right colors. Here are some must-have shades:

- Ocean Blue: Represents the sea and gives a calming vibe.
- Sunny Yellow: Brings the warmth of the sun to your nails.
- Sandy Beige: Mimics the beach’s natural beauty.
- Coral Pink: Adds a fun pop of color reminiscent of tropical flowers.
- White: Perfect for creating patterns like waves or clouds.
Nail Art Tools

To achieve stunning designs, you’ll need the right tools:
- Nail Brushes: For detailed work and patterns.
- Dotting Tools: Great for creating bubbles and dots.
- Sponges: Ideal for gradient effects resembling sunsets.
- Striping Tape: Useful for clean lines and geometric patterns.
Nail Stickers and Stencils
If you’re new to nail art, consider using nail stickers or stencils. They come in various beach designs such as seashells, starfish, and palm trees, making nail art easier and more accessible for everyone.

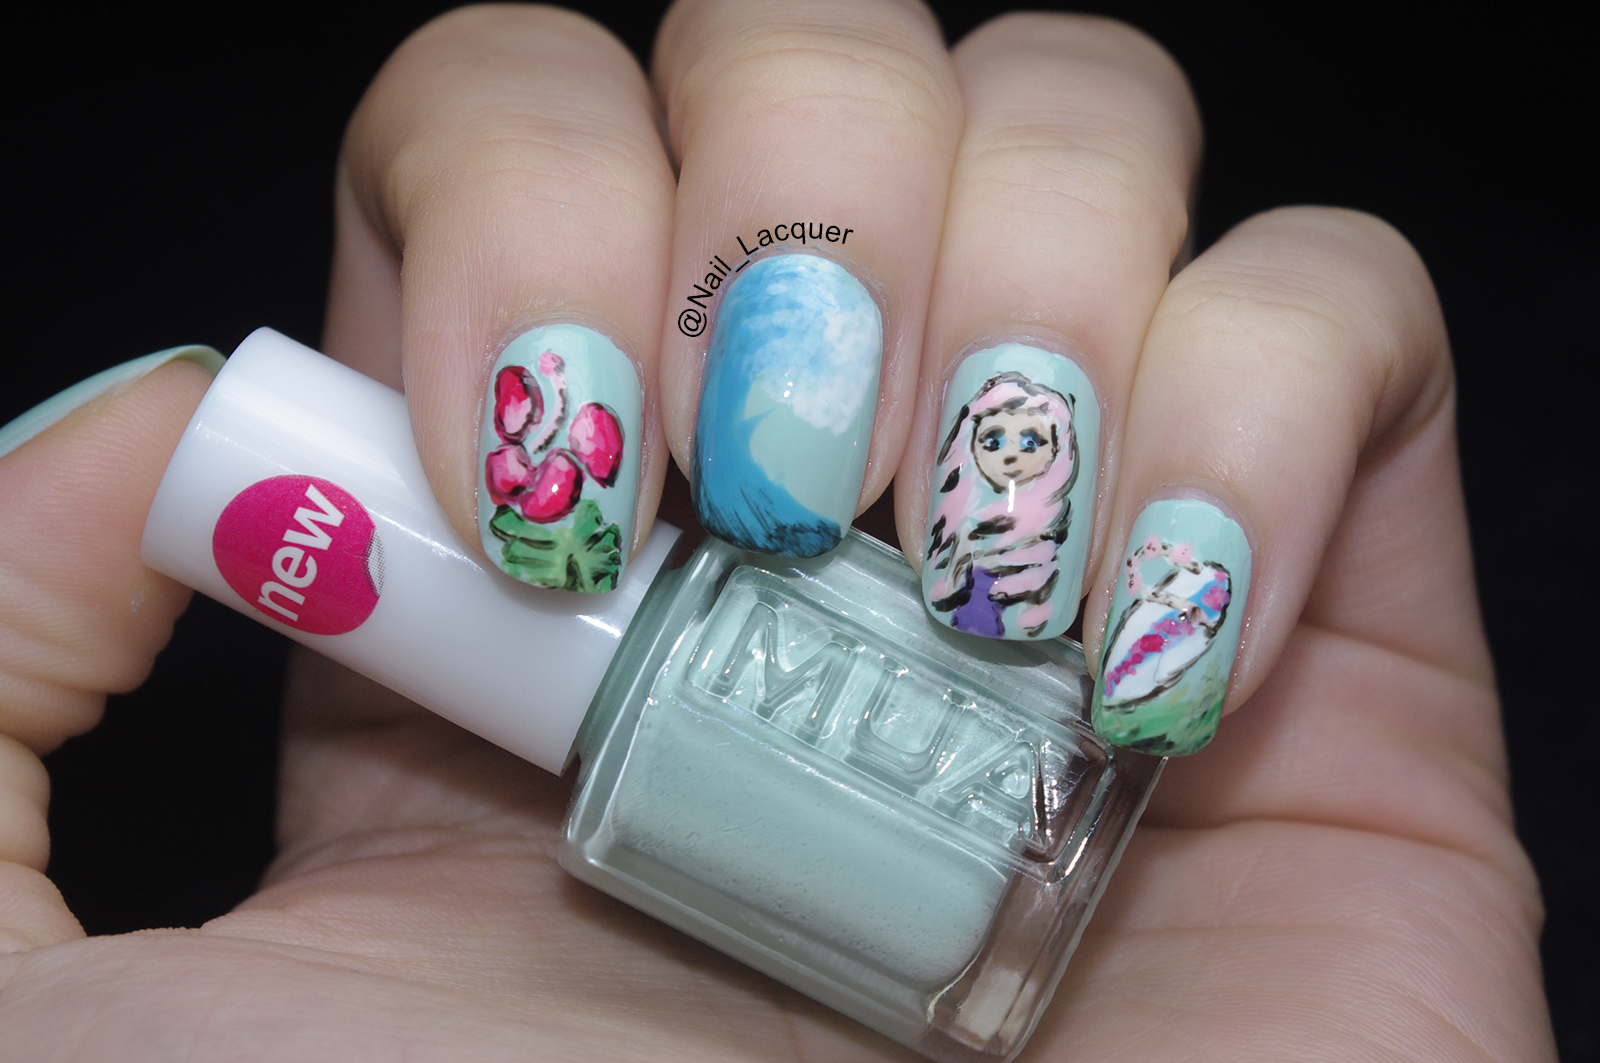
Popular Beach Themed Nail Art Designs
1. Ocean Waves
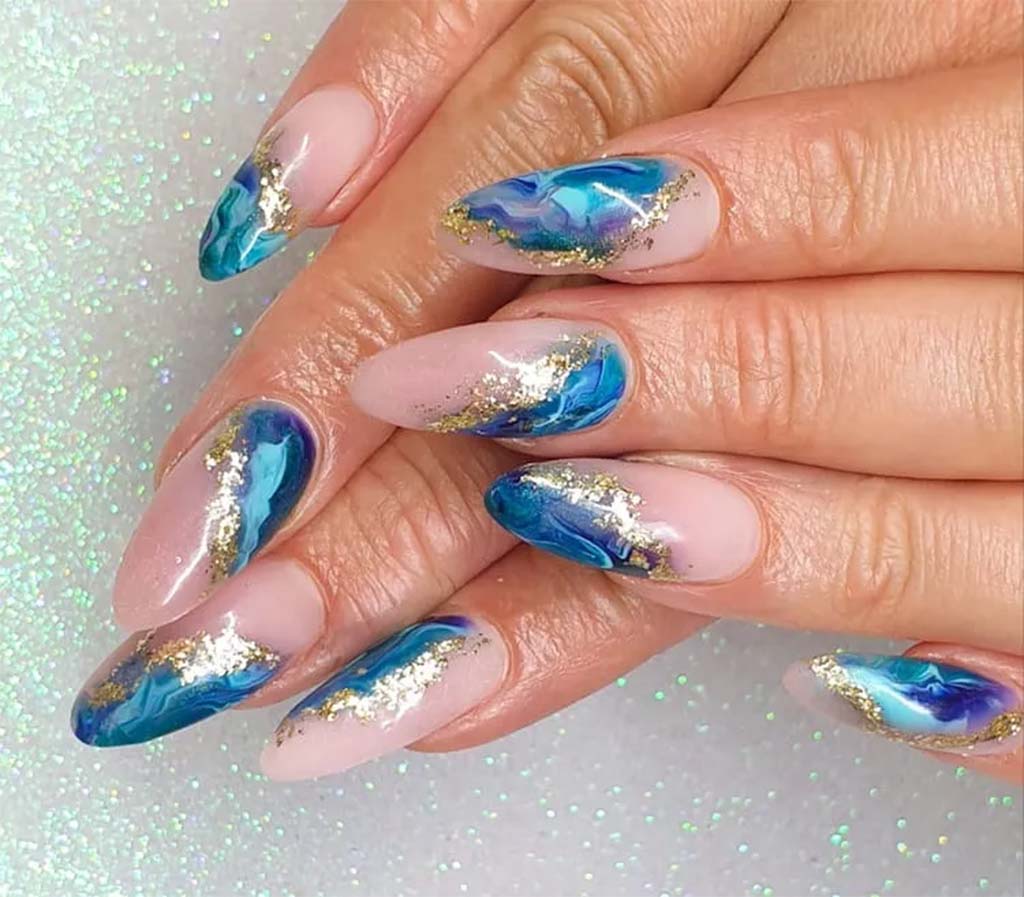
This design uses blues and whites to imitate the crashing waves of the ocean. Here’s how to do it:
- Paint your base coat with a light blue polish.
- Use a sponge to dab on darker blue and white polish to create wave effects.
- Finish with a top coat for a glossy finish.

2. Sunset Gradient
A sunset gradient design captures the beauty of beach sunsets. Follow these steps:
- Apply a base coat of light yellow polish.
- Using a sponge, layer on orange and pink polishes at the tips.
- Blend the colors gently for a gradient effect.
- Seal with a top coat.
3. Seashell Accent Nails
This design features an accent nail painted with a seashell design:
- Choose a neutral base color for your nails.
- On one nail, paint a seashell using a dotting tool and various shades.
- Add details with a fine brush.
4. Tropical Palm Trees
Bring the tropics to your fingertips! Here’s how:
- Start with a light blue or sandy base coat on all nails.
- Use a fine brush to paint palm trees on one or two accent nails.
- Finish off with a top coat.
Beach Nail Art Tutorial for Beginners
Step-by-Step Guide
Ready to create your beach-themed nail art? Here’s a step-by-step tutorial for a simple beach scene design:
- Start with clean, dry nails and apply a base coat.
- Paint your nails sky blue for the background.
- Once dry, use a sponge to dab white polish, creating fluffy clouds.
- Use beige polish to create a sand area at the base of the nail.
- Add seashells or tiny starfish designs using nail art pens or brushes.
- Seal your design with a top coat to protect it and add shine.
Travel Tips for Beach Lovers
As an avid traveler, I’ve enjoyed exploring various beaches around the world, and I have some tips to enhance your beach experience:
- Pack Smart: Bring portable nail art supplies for quick touch-ups while traveling.
- Stay Hydrated: Drink plenty of water under the sun to keep your skin and nails healthy.
- Embrace Local Inspirations: Look for colors, textures, and patterns you can incorporate from your surroundings into your nail art.
Destination Highlights for Beach Lovers
Top Beach Destinations to Inspire Your Nail Art
| Destination | Highlights | Best Time to Visit |
|---|---|---|
| Maldives | Crystal clear waters, white sandy beaches | November to April |
| Hawaii | Diverse landscapes, beautiful sunsets | April to June, September to November |
| Bora Bora | Stunning lagoons, luxury resorts | May to October |
| Ibiza | Vibrant nightlife, beautiful coves | May to October |
Comparing Nail Art Products: The Best Options Available
To achieve the perfect beach-themed nail art, having quality products is essential. Here are some top-rated products to consider:
| Product | Rating | Price | Best For |
|---|---|---|---|
| OPI Nail Lacquer | 4.8/5 | $10 | Long-lasting color |
| Essie Nail Polish | 4.5/5 | $9 | Wide range of colors |
| Color Club Nail Polish | 4.6/5 | $8 | Quick-drying formula |
| Wet n Wild Megalast | 4.4/5 | $5 | Affordable with rich pigments |
Pros and Cons of Beach Themed Nail Art
Pros
- Creative expression of personality and style
- Endless design possibilities
- Can be a fun activity while traveling
Cons
- May require practice to master techniques
- Can chip easily in sandy or salty environments
- Time-consuming for intricate designs
FAQs About Beach Themed Nail Art
What is the best nail polish for beach-themed designs?
The best nail polish combines longevity and vibrant colors. Brands like OPI and Essie are highly recommended for their quality and wide color selection.
How long does beach-themed nail art last?
With proper care and a good top coat, your beach-themed nail art can last up to two weeks without chipping.
Can I do beach-themed nail art at home?
Absolutely! With a few basic tools and colors, you can create stunning beach-themed designs in the comfort of your home.
What tools do I need for beach-themed nail art?
You’ll need nail polish, nail brushes, dotting tools, sponges, and optionally, stickers or stencils for easier designs.
How can I protect my nail art while traveling?
To protect your nail art while traveling, use a quick-drying top coat and avoid submerging your hands in water for long periods.
Conclusion: Embracing the Beach Vibe with Nail Art
Beach-themed nail art is a wonderful way to celebrate your love for travel and the ocean. Whether you’re lounging on a sunny beach or strolling through a vibrant market, your nails can reflect the beauty and spirit of your surroundings. So gather your nail supplies, get inspired, and let your creativity flow like the waves on a tranquil shore!